Deploying with Docker
To deploy SwanLab Community Edition privately, follow the installation steps below.

Prerequisites
Before installing SwanLab, ensure your machine meets the following minimum system requirements:
- CPU >= 2 cores
- Memory >= 4GB
- Storage space >= 20GB
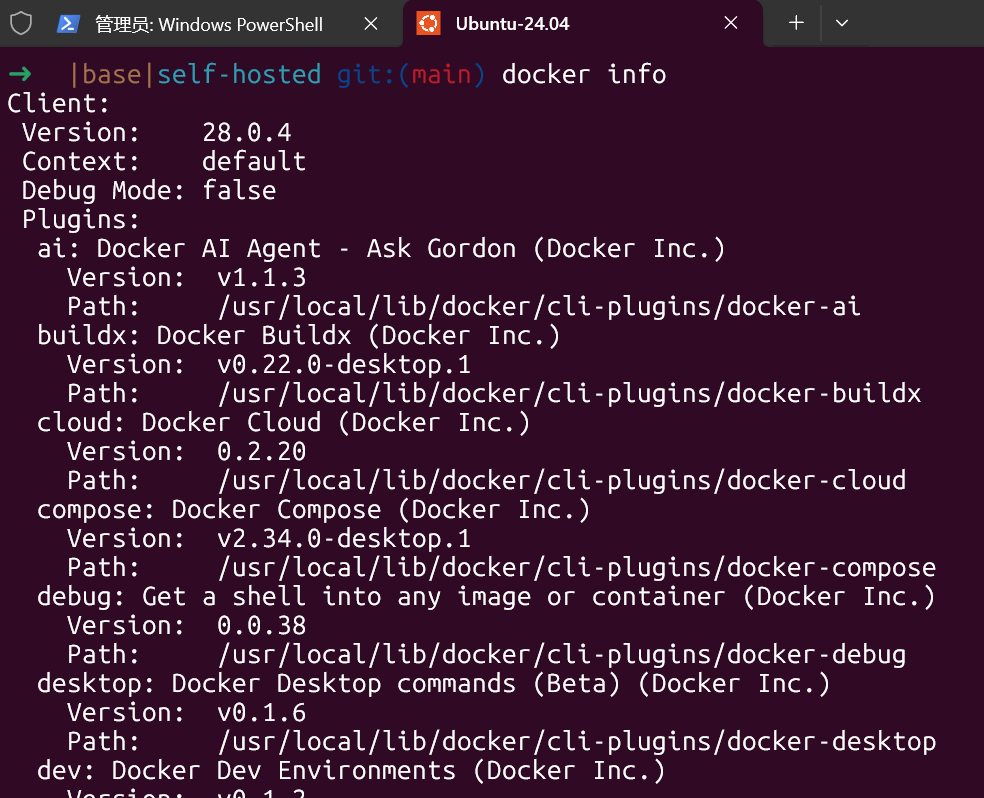
SwanLab Community Edition requires Docker Compose for installation and deployment. Refer to the table below to select the correct Docker and Compose versions based on your operating system.
If Docker is already installed, skip this step.
| Operating System | Software | Notes |
|---|---|---|
| macOS 10.14 or later | Docker Desktop | Configure the Docker VM to use at least 2 vCPUs and 8 GB of initial memory. Otherwise, installation may fail. For more details, refer to the Docker Desktop for Mac Installation Guide. |
| Windows (with WSL 2 enabled) | Docker Desktop | We recommend storing source code and other Linux container-bound data in the Linux filesystem rather than the Windows filesystem. For more details, refer to the How to install Linux on Windows with WSL and Docker Desktop for Windows with WSL 2 Backend Installation Guide. |
| Linux | Docker 19.03 or later, Docker Compose 1.28 or later | For installation instructions, refer to the Docker Installation Guide and Docker Compose Installation Guide. |
If Docker is not installed, you can run the provided installation script.
Port Configuration
If you deploy SwanLab on a server and want to remotely access and view experiment records, ensure that the server opens the following two ports:
| Port | Configurable | Description |
|---|---|---|
| 8000 | Yes | Gateway service port. Handles external requests. For public deployments, consider setting it to 80. |
| 9000 | No | MinIO signature port for object storage access. This port is fixed and cannot be changed. |
Since the gateway service port (default
8000) can be modified before and after deployment, please ensure that you have opened the final modified port.
1. Clone the Repository
Clone the self-hosted repository using Git:
git clone https://github.com/SwanHubX/self-hosted.git
cd self-hosted
2. One-Click Installation
If you are using Windows, please make sure you have installed and enabled WSL2 and Docker Desktop.
Execute the
.shinstallation script in the WSL2 filesystem.
The default installation script is located at docker/install.sh. Execute it to install all required containers and perform initial configurations.
cd ./docker
./install.sh
The default script link uses a mirror source in China, so the download speed in China is very fast!
If you prefer to use DockerHub as the image registry, run the following script:
./install-dockerhub.sh3. Activate the Primary Account
SwanLab Community Edition uses port 8000 by default. If using the default configuration, access it at: http://localhost:8000.
If the community edition is deployed on a different port, open Docker Desktop, locate the port mapping for the
traefikcontainer (e.g.,64703:80), and accesshttp://localhost:64703.
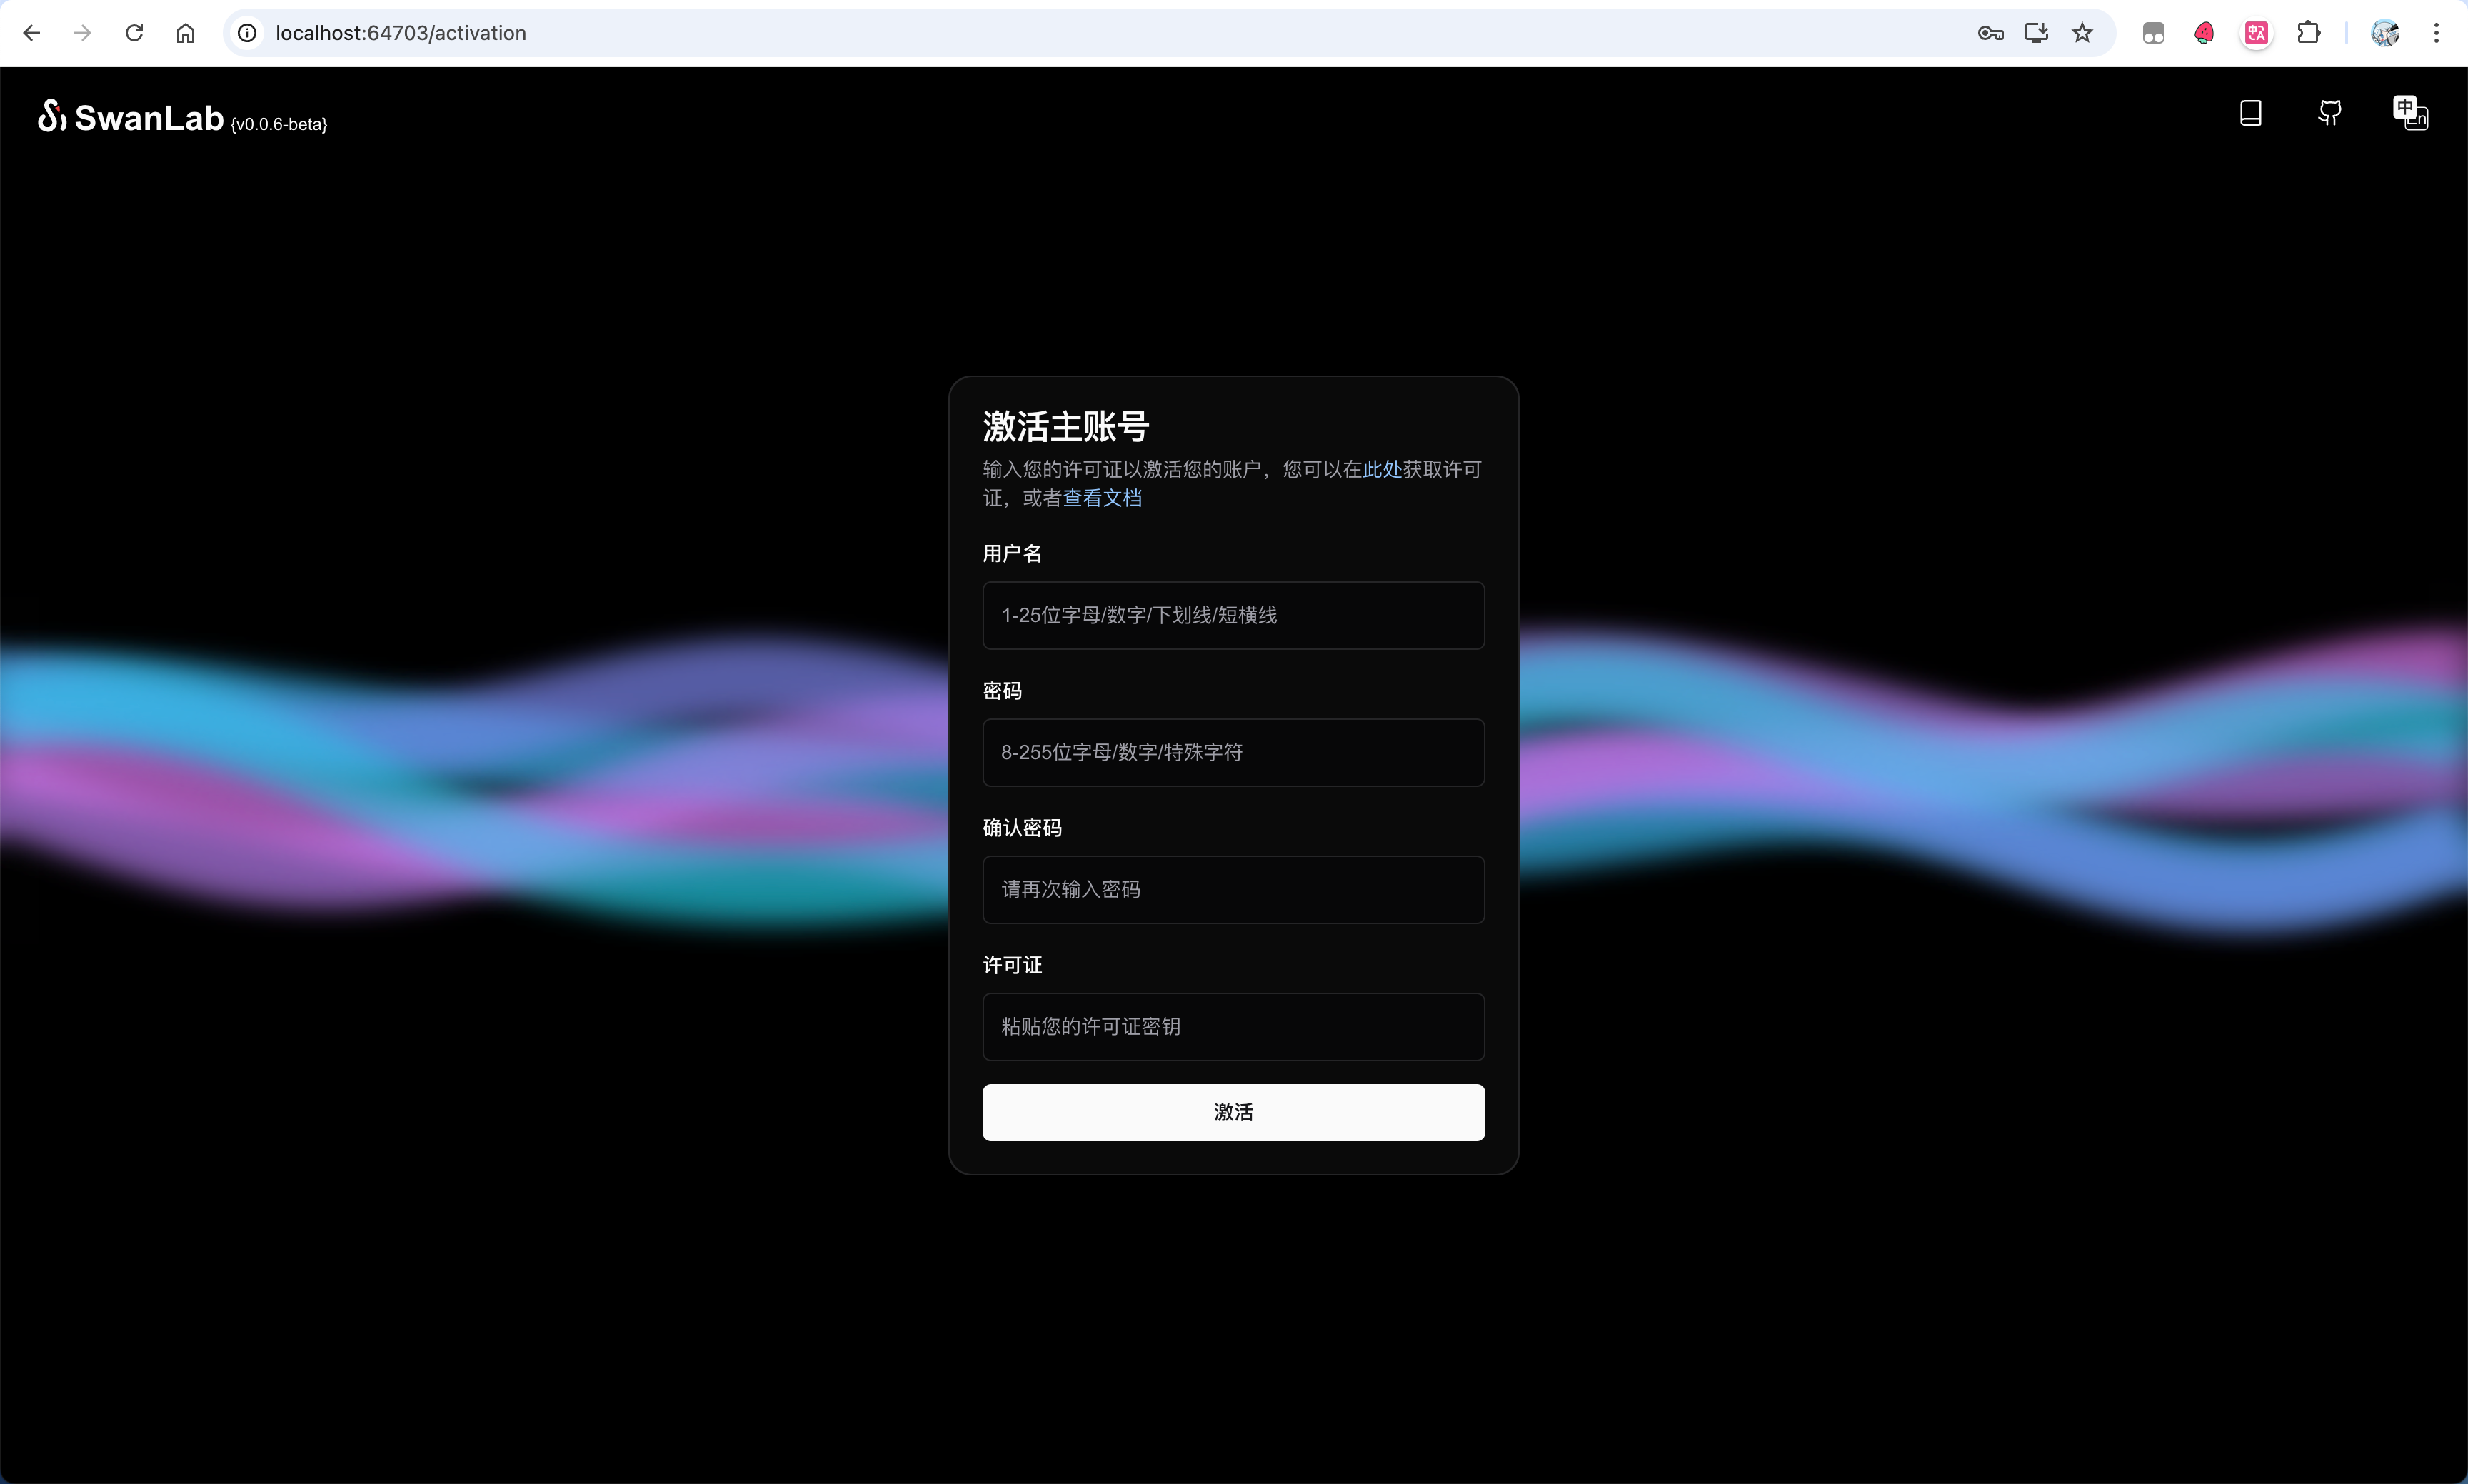
Now, activate your primary account. Activation requires 1 License, which can be obtained for free from the SwanLab Official Website for personal use.
Offline Verification
In versions > v1.1 of private deployment, it supports verifying the License in an offline environment.
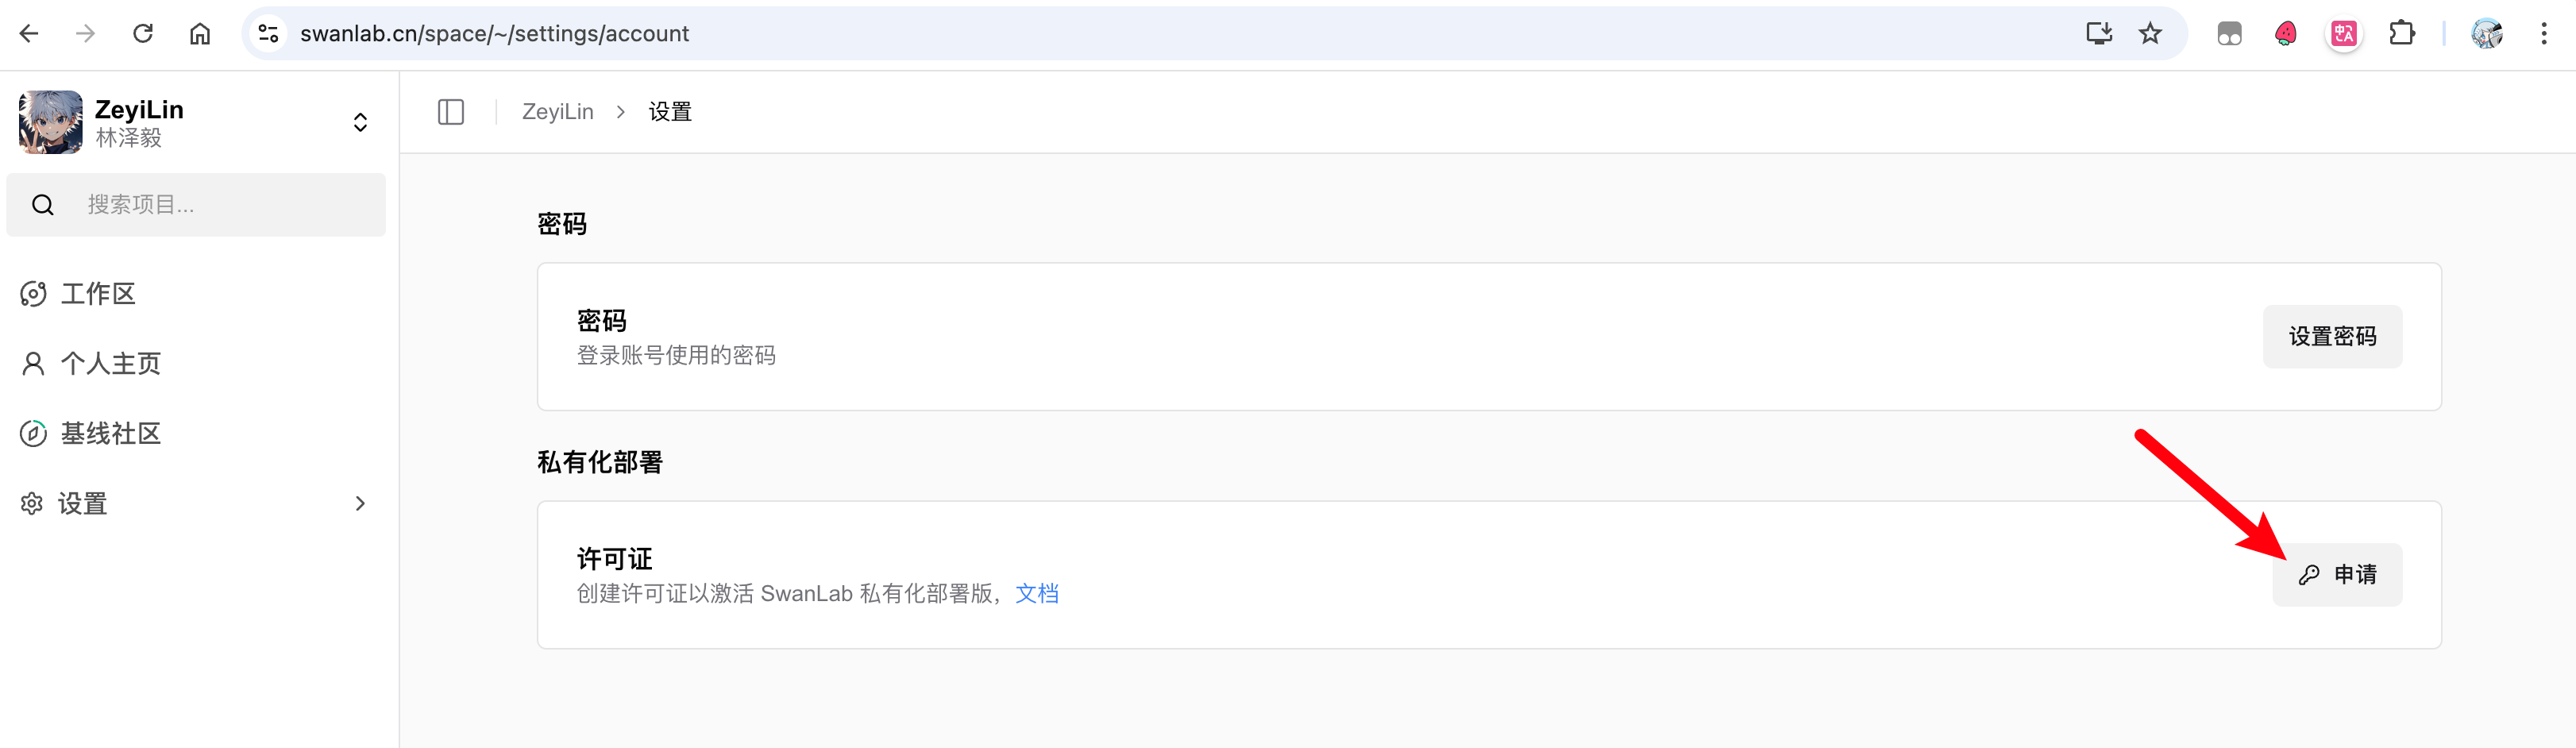
Once you have the License, return to the activation page, enter your username, password, confirm password, and License, then click "Activate" to complete the setup.
4. Start Your First Experiment
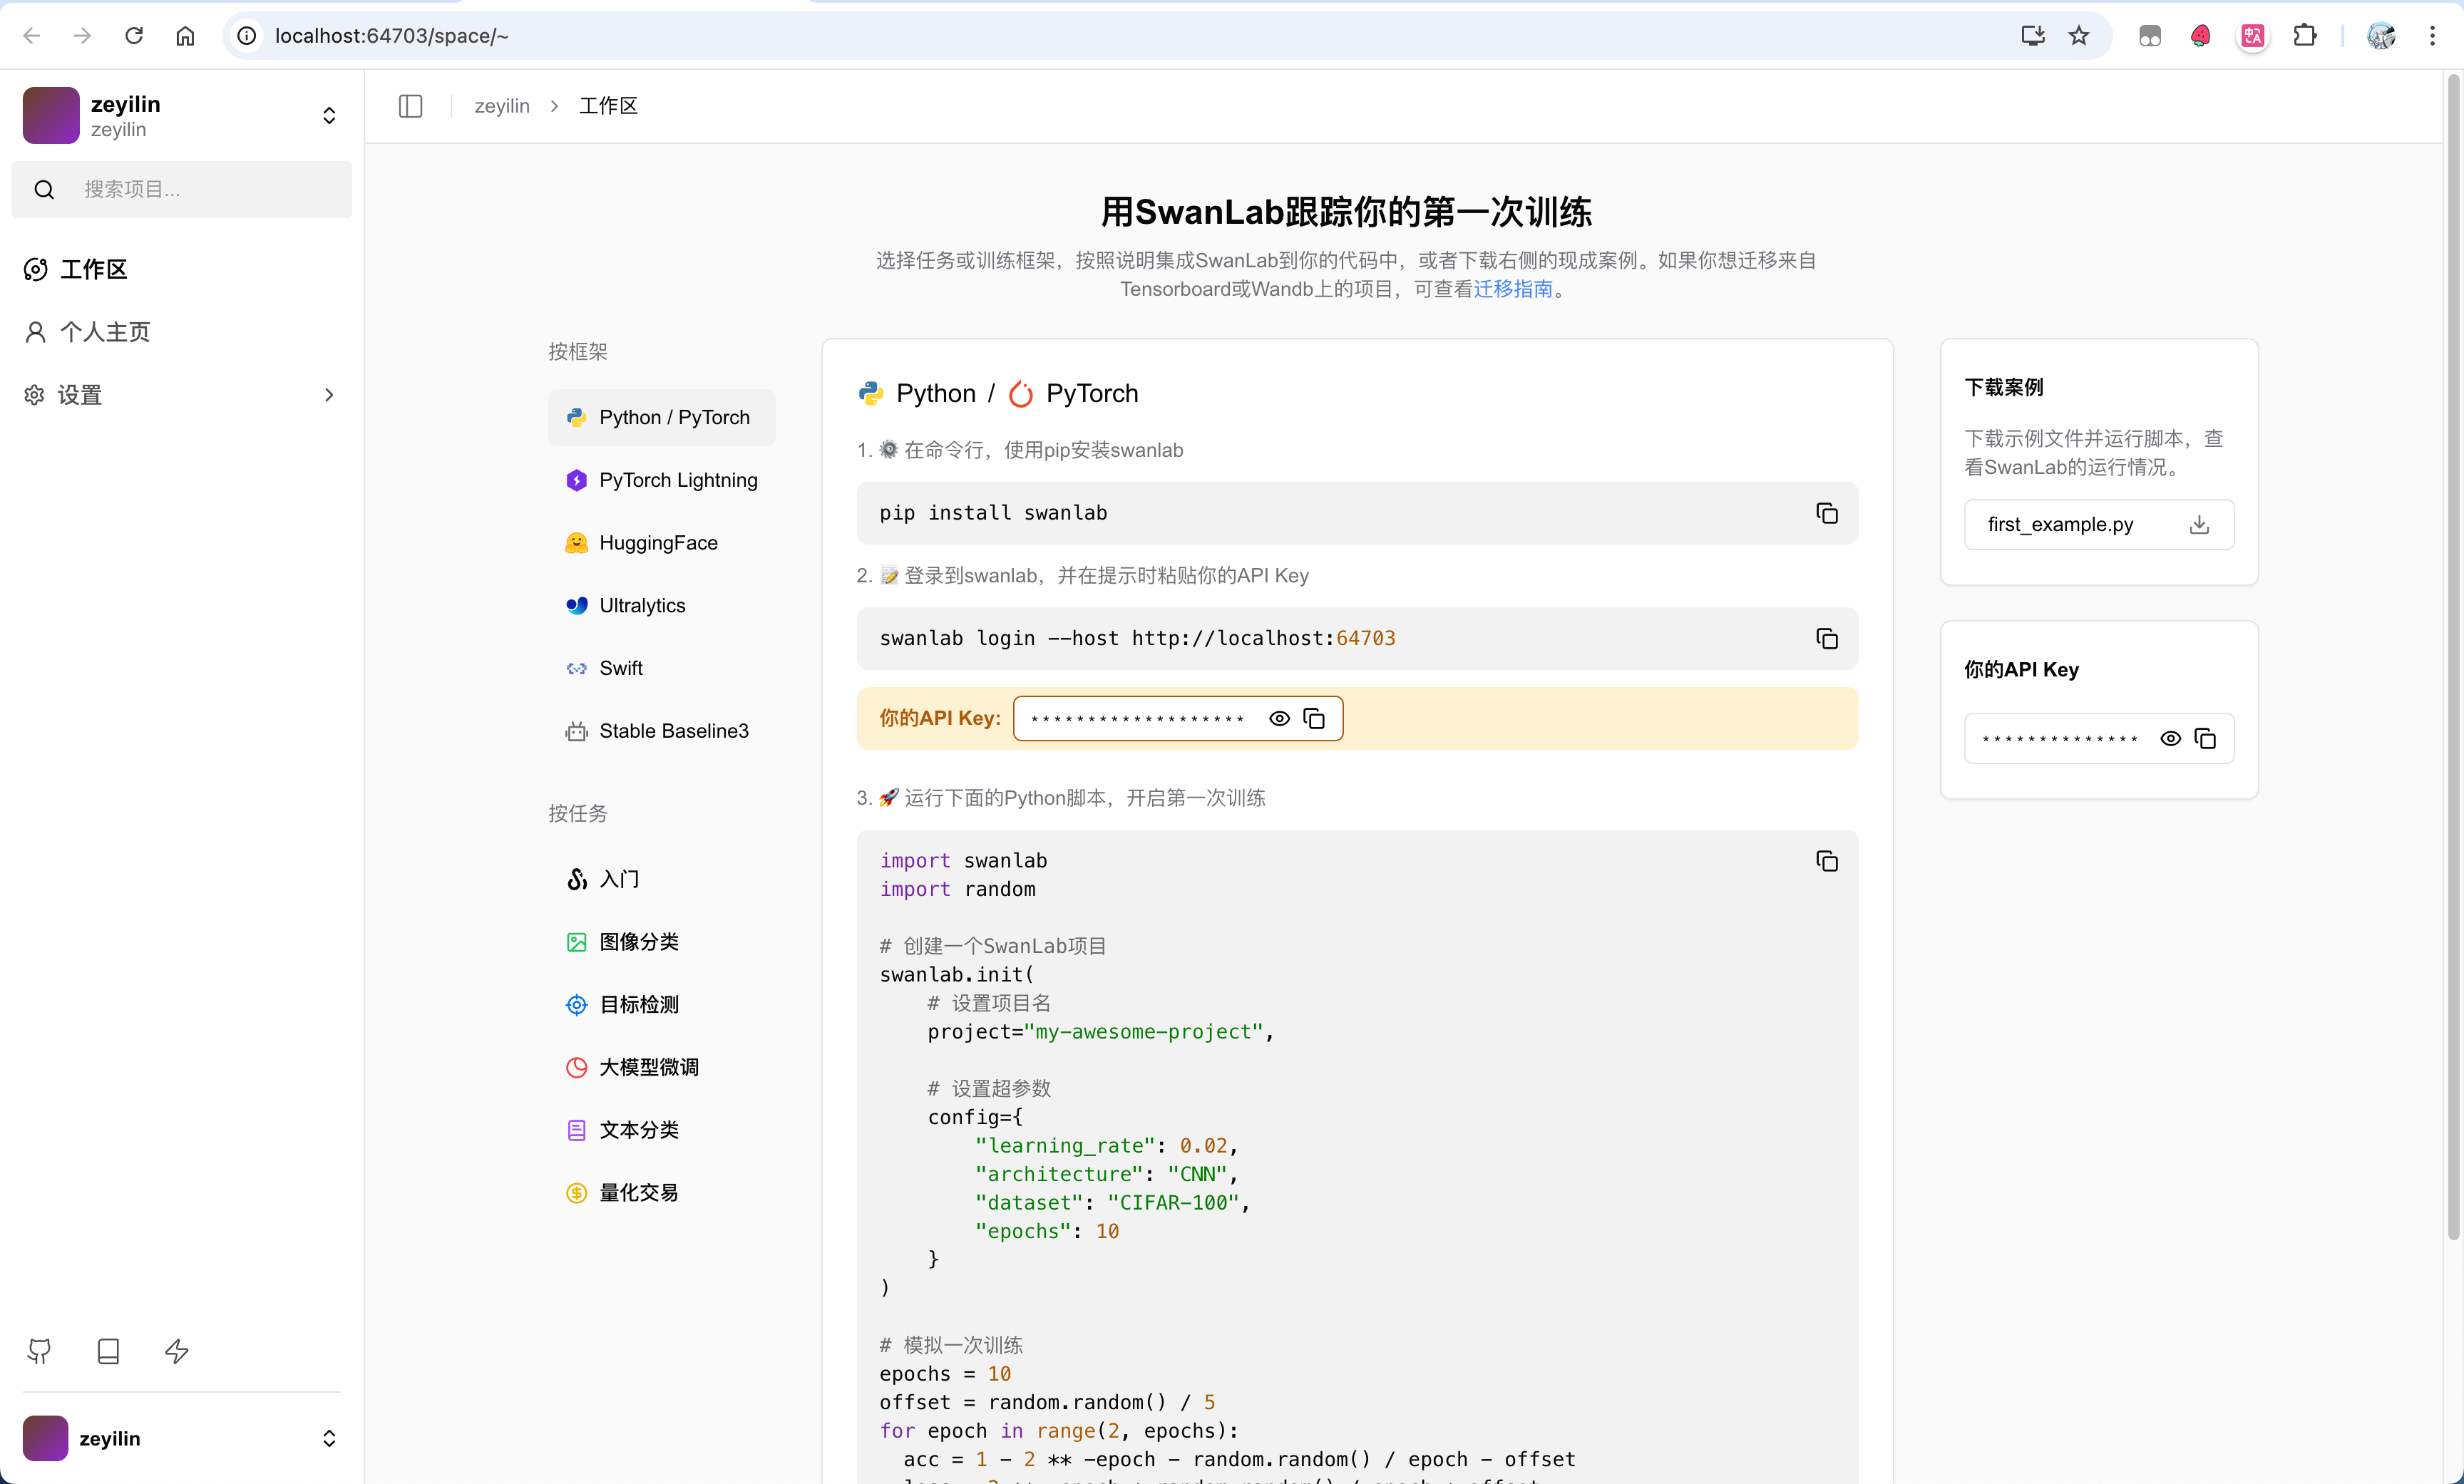
Log in using the Python SDK:
swanlab login --host <IP Address>If you have previously logged in and wish to re-login, use:
swanlab login --host <IP Address> --relogin.
Press Enter, enter your API Key, and complete the login. Your SwanLab experiments will now be uploaded to your private SwanLab instance by default.
Test Script:
import swanlab
import random

# Create a SwanLab project
swanlab.init(
    # Set project name
    project="my-awesome-project",

    # Set hyperparameters
    config={
        "learning_rate": 0.02,
        "architecture": "CNN",
        "dataset": "CIFAR-100",
        "epochs": 10
    }
)

# Simulate a training session
epochs = 10
offset = random.random() / 5
for epoch in range(2, epochs):
  acc = 1 - 2 ** -epoch - random.random() / epoch - offset
  loss = 2 ** -epoch + random.random() / epoch + offset

  # Log training metrics
  swanlab.log({"acc": acc, "loss": loss})

# [Optional] Complete the training, necessary in notebook environments
swanlab.finish()
View the experiment on the web after running:

Upgrade Version
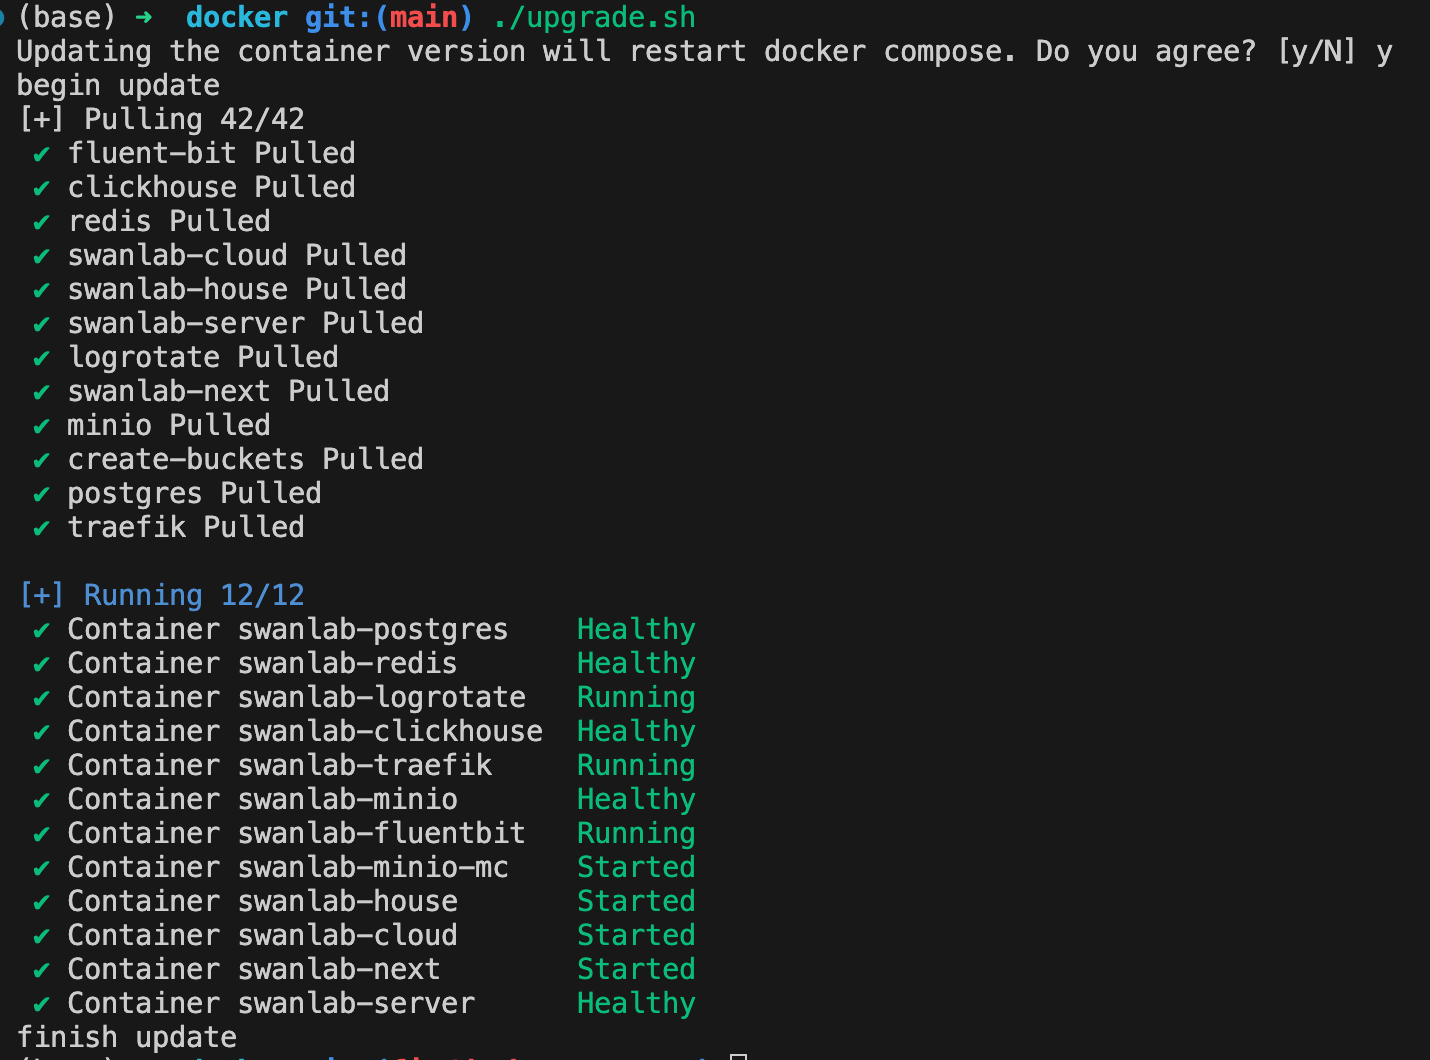
If you want to upgrade your local self-hosted deployment to the latest version, use the following commands:
# Navigate to your previously deployed self-hosted project directory
cd ./docker
./upgrade.sh
Command-line output after a successful upgrade: