Fine-tuning Stable Diffusion for Text-to-Image Generation
Stable Diffusion 1.5 (SD1.5) is a text-to-image model open-sourced by Stability AI on August 22, 2022. It is one of the most classic and community-active models in the SD series.
Using SD1.5 as a pre-trained model, fine-tuning a Naruto-style text-to-image model (non-LoRA approach) on the Naruto dataset is an introductory task for learning SD training.

VRAM Requirement: Approximately 22GB
In this article, we will use the SD-1.5 model to train on the Naruto dataset, while monitoring the training process and evaluating model performance using SwanLab.
- Code: Github
- Experiment Log: SD-naruto - SwanLab
- Model: runwayml/stable-diffusion-v1-5
- Dataset: lambdalabs/naruto-blip-captions
- SwanLab: https://swanlab.cn
1. Environment Setup
This case study is based on Python>=3.8. Please ensure Python is installed on your computer.
Additionally, your computer should have at least one NVIDIA GPU (approximately 22GB VRAM required).
We need to install the following Python libraries. Before that, make sure you have installed PyTorch and CUDA in your environment:
swanlab
diffusers
datasets
accelerate
torchvision
transformers
One-click installation command:
pip install swanlab diffusers datasets accelerate torchvision transformersThe code in this article was tested with
diffusers==0.29.0,accelerate==0.30.1,datasets==2.18.0,transformers==4.41.2, andswanlab==0.3.11. For more library versions, please refer to the Python environment recorded by SwanLab.
2. Prepare the Dataset
This case study uses the Naruto dataset, which is primarily used for training text-to-image models.
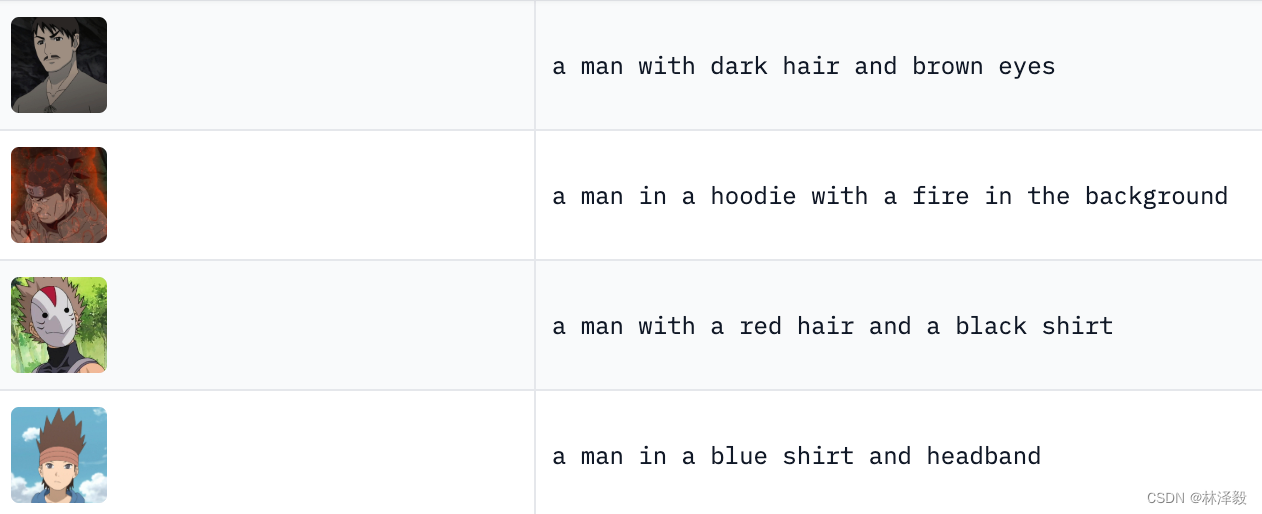
The dataset consists of 1200 (image, description) pairs, where the left side is an image of a Naruto character, and the right side is its description:

Our training task aims to enable the trained SD model to generate Naruto-style images based on input prompts:

The dataset size is approximately 700MB. There are two ways to download the dataset:
- If your network connection to HuggingFace is stable, simply run the code provided below, and it will be downloaded directly via HF's
datasetslibrary. - If there are network issues, I have also uploaded it to Baidu Netdisk (extraction code: gtk8). Download
naruto-blip-captions.zip, extract it locally, and place it in the same directory as the training script.
3. Prepare the Model
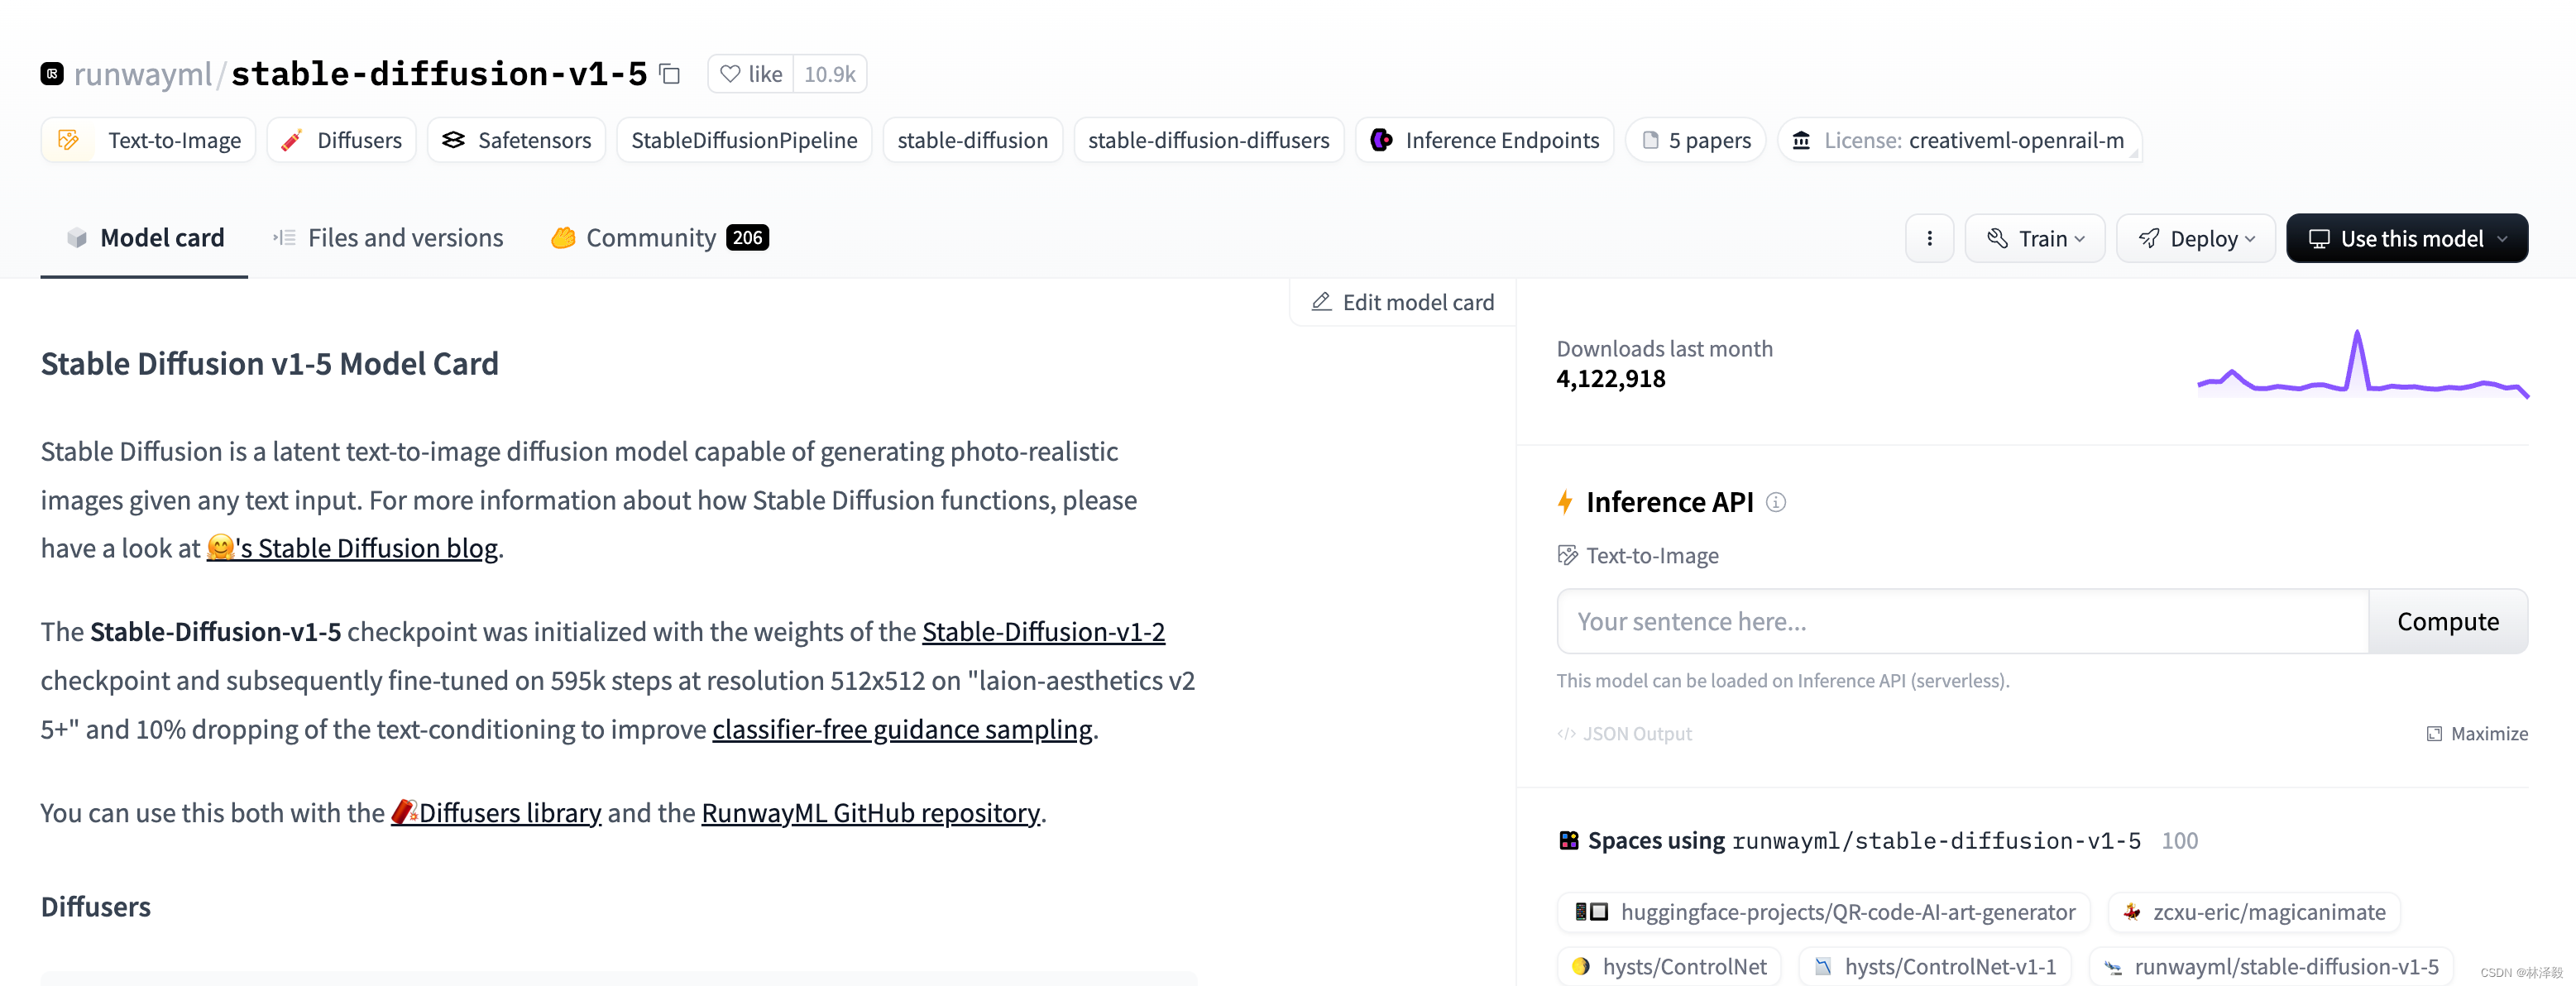
Here, we use the stable-diffusion-v1-5 model released by Runway on HuggingFace.

There are two ways to download the model:
- If your network connection to HuggingFace is stable, simply run the code provided below, and it will be downloaded directly via HF's
transformerslibrary. - If there are network issues, I have also uploaded it to Baidu Netdisk (extraction code: gtk8). Download
stable-diffusion-v1-5.zip, extract it locally, and place it in the same directory as the training script.
4. Configure Training Visualization Tool
We use SwanLab to monitor the entire training process and evaluate the final model performance.
If this is your first time using SwanLab, you need to register an account at https://swanlab.cn, copy your API Key from the User Settings page, and paste it when the training starts:

5. Start Training
Since the training code is relatively long, I have placed it on Github. Please clone the code:
git clone https://github.com/Zeyi-Lin/Stable-Diffusion-Example.gitIf your network connection to HuggingFace is stable, simply run the training:
python train_sd1-5_naruto.py \
  --use_ema \
  --resolution=512 --center_crop --random_flip \
  --train_batch_size=1 \
  --gradient_accumulation_steps=4 \
  --gradient_checkpointing \
  --max_train_steps=15000 \
  --learning_rate=1e-05 \
  --max_grad_norm=1 \
  --seed=42 \
  --lr_scheduler="constant" \
  --lr_warmup_steps=0 \
  --output_dir="sd-naruto-model"
The meanings of the above parameters are as follows:
--use_ema: Use Exponential Moving Average (EMA) technique, which can improve the model's generalization ability by using the moving average of model parameters for prediction during training instead of directly using the current model parameters.--resolution=512: Set the resolution of training images to 512 pixels.--center_crop: Perform center cropping on images, using the central part of the image as the training sample and ignoring the edges.--random_flip: Randomly flip images during training to increase the diversity of training data.--train_batch_size=1: Set the training batch size to 1, meaning only one image is used per training iteration.--gradient_accumulation_steps=4: Set gradient accumulation steps to 4, meaning parameters are updated every 4 training steps.--gradient_checkpointing: Use gradient checkpointing to reduce memory usage and speed up training.--max_train_steps=15000: Set the maximum training steps to 15000.--learning_rate=1e-05: Set the learning rate to 1e-05.--max_grad_norm=1: Set the maximum gradient norm to 1 to prevent gradient explosion.--seed=42: Set the random seed to 42 to ensure consistent randomness during training.--lr_scheduler="constant": Use a constant learning rate scheduler, keeping the learning rate unchanged throughout the training process.--lr_warmup_steps=0: Set the learning rate warmup steps to 0, meaning no warmup is performed.--output_dir="sd-naruto-model": Set the model output directory to "sd-naruto-model".
If you downloaded the model or dataset from the above Baidu Netdisk link, you need to do the following two things:
Step 1: Place the dataset and model folders in the same directory as the training script. The file structure should look like this:
|--- sd_config.py
|--- train_sd1-5_naruto.py
|--- stable-diffusion-v1-5
|--- naruto-blip-captions
stable-diffusion-v1-5 is the downloaded model folder, and naruto-blip-captions is the downloaded dataset folder.
Step 2: Modify the code in sd_config.py to change the default values of pretrained_model_name_or_path and dataset_name as follows:
    parser.add_argument(
        "--pretrained_model_name_or_path",
        type=str,
        default="./stable-diffusion-v1-5",
    )
    parser.add_argument(
        "--dataset_name",
        type=str,
        default="./naruto-blip-captions",
    )
Then run the startup command.
When you see the following progress bar, it means the training has started:

6. Training Results Demonstration
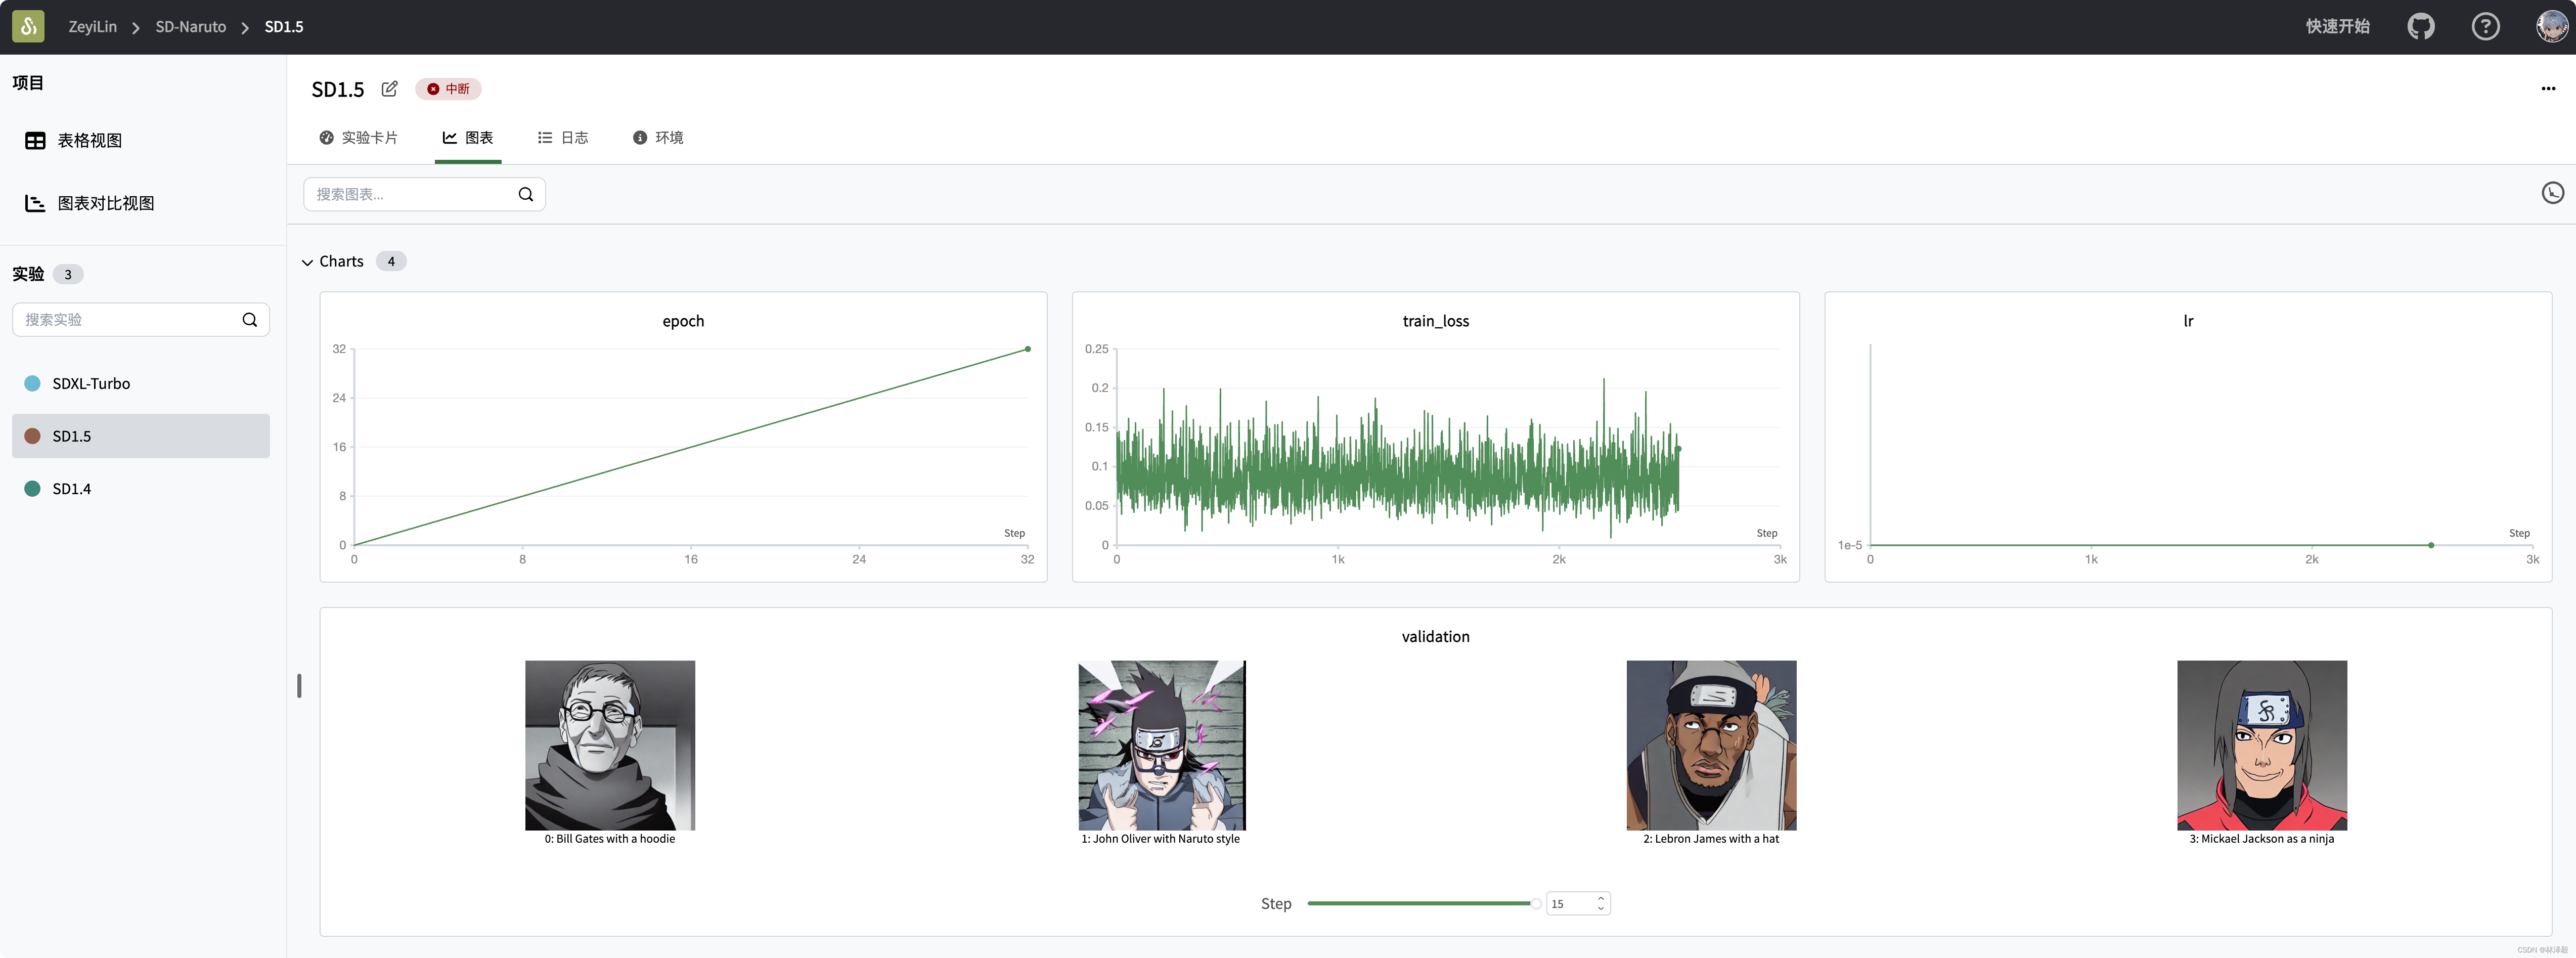
We can view the final training results on SwanLab:

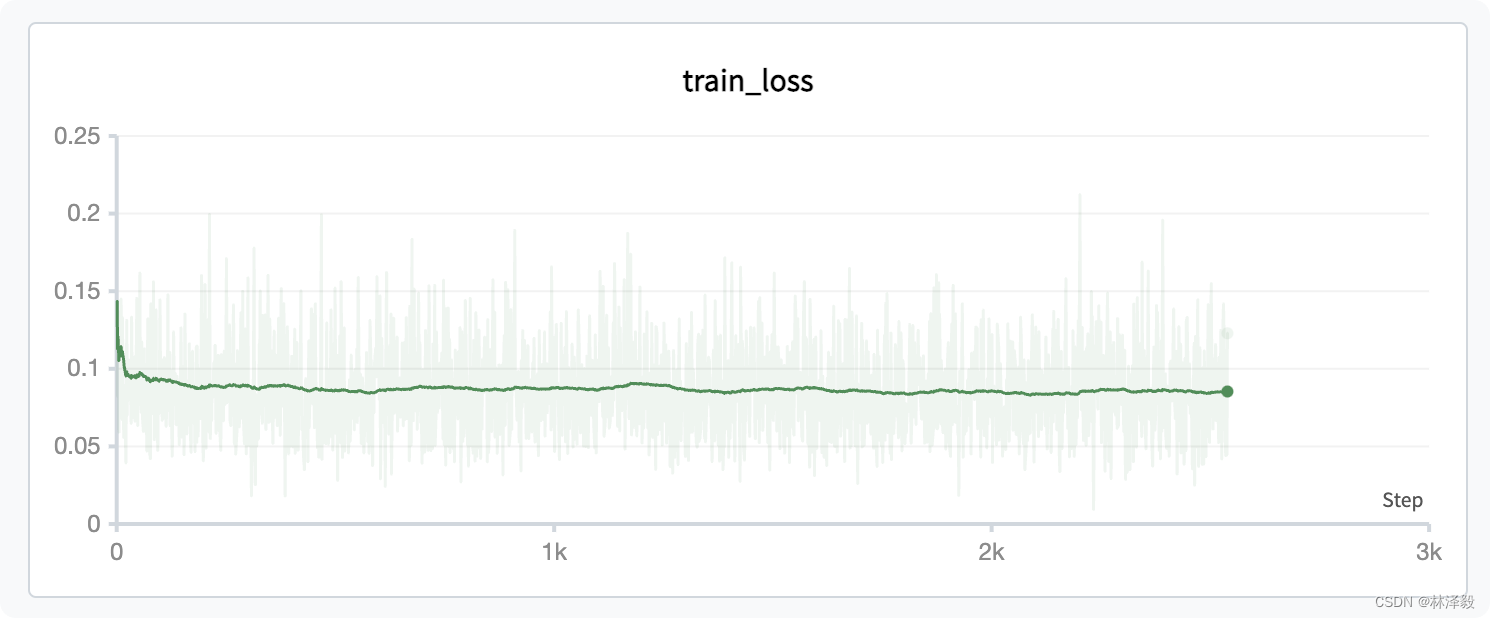
You can see that the characteristic of SD training is that the loss keeps oscillating. As the epochs increase, the loss initially decreases, but subsequent changes are not significant:

Let's take a look at the subjectively generated images. The images from the first epoch look like this:

You can see that LeBron James still looks very "original," and Michael Jackson's generated image looks a bit strange...
Now let's look at the intermediate state:


After a relatively long training period, the results improve significantly.
Interestingly, Bill Gates' generated image always seems to have a very evil vibe...

At this point, you have completed the training of the SD model on the Naruto dataset.
7. Model Inference
The trained model will be saved in the sd-naruto-model folder. The inference code is as follows:
from diffusers import StableDiffusionPipeline
import torch

model_id = "./sd-naruto-model"
pipe = StableDiffusionPipeline.from_pretrained(model_id, torch_dtype=torch.float16)
pipe = pipe.to("cuda")

prompt = "Lebron James with a hat"
image = pipe(prompt).images[0]

image.save("result.png")
Related Links
- Code: Github
- Experiment Log: SD-naruto - SwanLab
- Model: runwayml/stable-diffusion-v1-5
- Dataset: lambdalabs/naruto-blip-captions
- SwanLab: https://swanlab.cn